After your last vacation, you decided to create a video that ‘stitches’ together all the wonderful moments spent with your loved ones? You had a great idea! If you’re here reading this guide, though, I understand that you may not have much experience in video editing, right? So don’t worry, because you can always learn!
If you want, in the next paragraphs of this tutorial, I can provide you with some basic notions on how to create a great video montage. I will guide you in choosing the right program until finding the cut to give to the footage, based on the purpose you want to achieve and the audience you intend to target. Naturally, I will also provide you with some general advice on a few more technical aspects, such as color correction and audio of the footage.
If you are ready to start, I would say let’s dive right into the heart of the article. Get comfortable, take all the time you need to concentrate on reading the next paragraphs, and, even more importantly, try to implement the “tips” that I’ll give you. I wish you happy reading and good fun!
Index
- Choosing the Right Program
- Determining the Purpose of the Video
- Identifying the Target Audience
- Selecting Which Clips to Include
- Paying Attention to Color Correction
- Paying Attention to the Audio of the Footage
- How to Create a Great Video Montage on the Go
- How to Edit a Video on Windows
- How to Edit a Video on Mac
- How to Edit a Video on Android
- How to Edit a Video on iPhone
Choosing the Right Program
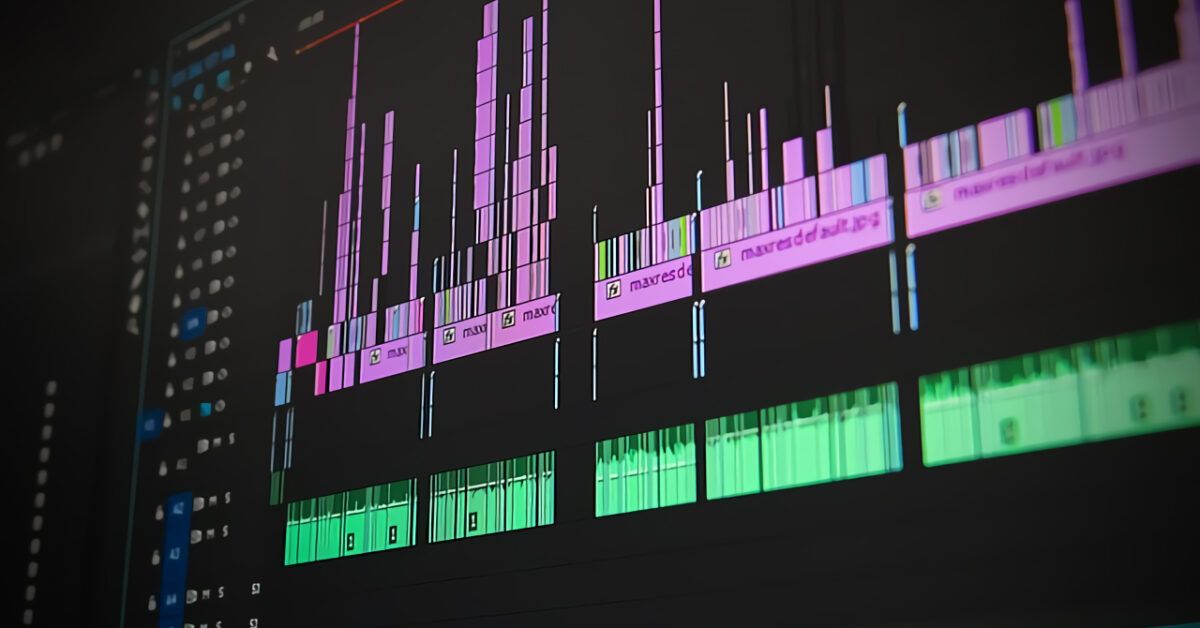
Choosing the right program is the first action you need to take if you want to create a great video montage. Before selecting the “final” program for you, you might find it practical to test most of the main software available (including paid ones, which usually offer limited-time trials), so that you can identify the one with which you are most comfortable and that seems best suited to your video editing needs (as well as better for your PC’s performance). Here are some that may suit you.
- DaVinci Resolve (Windows/macOS/Linux) — is a free basic program, also used professionally, that includes 8K support and various advanced features. Its paid version, costing 295 euros, offers additional functions, such as multi-user collaboration, many ResolveFX and FairlightFX plugins, and much more.
- Adobe Premiere Pro (Windows/macOS) — this is a commercial software designed for professionals, which includes many useful tools for video editing. As a professional software, a subscription must be taken out, starting at €26.64/month. However, it is possible to test it for free for 7 days without renewal obligation.
- VEGAS Pro (Windows) — is one of the best professional video editing software available for Windows, which includes a ton of advanced functions for creating and editing videos. It is paid software: starting from €16.67/month (but it can also be purchased for €199.00 one-time, depending on the version chosen). You can also test all functions for 30 days.
- Final Cut Pro (macOS) — anyone with a Mac should not overlook using Final Cut Pro, Apple’s professional video editing software, aimed at professionals with advanced editing needs. It can be enriched with the addition of various genre plugins, making it extremely versatile. It can be tested for free for 30 days, after which it costs €349.99 one-time.
- iMovie (macOS) — is another program from Apple for video editing aimed at those without professional needs and who don’t have much familiarity with advanced solutions but can still be useful for semi-professional work. It is free and included by default on macOS.
Determining the Purpose of the Video
Determining the purpose of the video, i.e., why you are creating it and how it will be used, helps to understand what choices to make during editing: which transitions to use, when to cut or not certain scenes, what dynamism to confer to the video, and so forth.
Before you start “getting your hands dirty” in the project, you might ask yourself questions like these: “What is the goal I want to achieve with this video? Through which channels will it be promoted? On social networks? On TV? In schools? In cinemas? What message do I want to convey through the footage?”
You might jot down on a sheet of paper or a digital document the answers to these and other questions as they come to mind before you begin the actual editing work. This will allow you to understand the direction that the project you are working on should take and, consequently, the “cut” that you need to give it.
Identifying the Target Audience
Identifying the target audience is also essential for the successful outcome of a video editing project. The choices you make during editing should indeed be profoundly influenced by the audience for which the video is intended.
Is it a young audience or a slightly more “mature” one? Are the individuals watching the video professionals, students, colleagues, potential clients? Is it an audience already knowledgeable about the topic of the footage, or could there be entirely new information for them? Gathering all this data will give you insights and ideas on how to edit the video to make it as comprehensive as possible, as well as visually pleasant.
If, for instance, technical and sectoral terms are used in the video, but the footage is also destined for “non-experts,” it might be wise to insert subtitles explaining the meanings of certain words or acronyms; if the footage is aimed at a young audience, you might make the viewing flow more by cutting out all the “dead time” present in each clip and giving greater dynamism to the whole.
Selecting Which Clips to Include
Selecting which clips to include in the video is the first action you need to take once the purpose of the video and the audience to whom it is intended have been defined.
Indeed, not all clips should be included in the project, and for a very simple reason: most likely, not all segments of video shot have good quality and/or not all provide information that is genuinely interesting for the development of the general theme of the video.
Therefore, arm yourself with a good dose of patience to watch (and possibly rewatch) everything that was shot during production. Once done, based on the evaluations you previously made regarding the purpose of the video and the target audience, select only clips that are essential for the successful outcome of the final work.
While making this assessment, consider also how you intend to develop the video, thus the order in which to edit the various clips, which will allow viewers to understand the meaning of what they will observe and the sequence of events. Understood?
Paying Attention to Color Correction
One of the most important points when focusing on video editing is paying attention to color correction. Your goal should be to make the color rendering as natural as possible: unless you want to give a particular artistic touch to the footage, the closer they are to the hues present in reality, the greater the beauty of the video and the impact it will have on viewers.
To achieve good color correction, it is crucial to rely on a well-calibrated monitor that has a good RGB coverage. If you’re working on a monitor that has been well calibrated from the factory (and this applies to both external monitors and those integrated into laptops), that’s a plus; otherwise, you’ll need to calibrate the screen yourself.
Paying Attention to the Audio of the Footage
The audio is one of the most important features in a well-edited video: neglecting this aspect would essentially render the attention paid to the previous points useless.
The audio of the footage must be well synchronized with the frames being played, and another important thing is that it must be “clean”: if it isn’t, you can use appropriate software for the purpose, such as the famous Audacity, which allows you to make all the necessary corrections.
When tweaking the audio of the footage, I strongly recommend using a pair of professional headphones. This way, you can carefully listen to the audio played in the video and make corrections as accurately as possible. If you’re wondering, prefer the use of wired over-ear headphones rather than wireless ones: the latter might have lags and may not allow you to perform precise work.
How to Create a Great Video Montage on the Go
If you want to try making a great video montage on the go, the advice I’ve provided in the previous lines remains valid. Clearly, on-the-go it is more difficult to achieve a professional outcome comparable to that which can be obtained with professional programs and appropriate hardware tools. In any case, if you want to succeed, try using one of the following video editing apps.
- Adobe Premiere Rush (Android/iOS/iPadOS) — is a sort of mobile version of Premiere Pro, and it picks up a good chunk of the characteristics and functionalities, revised in a “mobile style.” The free version allows for a maximum of three exports: to remove this limit and enjoy all extra functions of Premiere Rush, a subscription starting at €10.49/year is required.
- KineMaster (Android/iOS/iPadOS) — is considered one of the best apps for video editing on Android and iOS/iPadOS, as it allows for full control of your project thanks to its advanced editing tools. However, please note that the free version applies a watermark to your works, removable by subscribing to a plan starting at €4.19/month.
- iMovie (iOS/iPadOS) — is the mobile version of the homonymous application for Mac that, being developed directly by Apple, works excellently on iPhone and iPad, allowing you to edit videos quite simply and intuitively, thanks to its user-friendly interface.
After choosing the solution that works for you, you can begin with the editing. If you are editing the video from a mobile device, it is likely that you want to share it on social networks. Since these platforms typically use a “light” and entertaining communication style, try to edit the video accordingly.
Many video editing apps, for example, allow you to apply “on-the-fly” fun filters and effects as well as themes with quite suggestive background music. Try to use these solutions to get a pleasing result.
How to Edit a Video on Windows
Now let’s see how to edit a video on Windows, using a dedicated free program that allows you to achieve excellent results. I’m referring to Photos from Windows, which, as you probably know, is a program for viewing and editing photos, so what does it have to do with videos?
The answer is simple; through Photos, you can access the Photos Legacy program, which is also an effective video editor. To get Photos Legacy, open the Photos app, then click the Gear icon and scroll down to find the Get Photos Legacy button. This will open a page in the Microsoft Store where you can press the Install button to download the program.
Once obtained, open it, then click on the Video Editor menu at the top, close the window that prompts you to download Clipchamp (or download it if you want to also try that video editor), then name your project and press the OK button. From here, by clicking the Add button, you will be able to search your PC’s memory for the various video clips to import, or simply drag them into the box.
After importing them, position them in the bottom part to add them to the timeline. Once arranged in order, you can click on them and change their length, add text, effects, or make other modifications from the menu at the top. When the editing of that clip is complete, press the Done button and proceed to the next one. From the menu at the top of the main interface, you can also add music or audio using the Background Music or Custom Audio buttons. When you’re done, press the Finish Video button, choose the quality, and press the Export button.
How to Edit a Video on Mac
If you want to edit a video on Mac, I recommend using iMovie, the free app available for download from the Mac App Store. Once downloaded, open it and press the Projects button followed by Create New > Movie to choose to edit a complete video. At this point, you will see the editing interface from which to compose your work.
To import the clips to be included in your video, press the Down Arrow button at the top, then select the House Icon followed by your Mac name to import files directly from the computer. Once you have selected them all, press the Import Selected button. Alternatively, you can simply drag them from the folder to this section.
Once the files are available, take them one by one and drag them to the timeline to add them to the final result. You can shorten the duration of each clip by clicking on it and then dragging its edges directly from the timeline. To add text, click on the Titles menu, then choose a text and drag it into the timeline, editing it from the interface on the right.
When you have finished editing your video, click on the Projects option and then name the one you are making. To export it, press the arrow inside a square button and choose one of the available exporting options.
How to Edit a Video on Android
Want to know how to edit a video on Android? Every manufacturer has its specific apps, and some also offer video editors, so I suggest checking online to see if you have a preinstalled editor. To have a common solution, however, in this guide, I suggest using YouCut, available for free (with a paid version starting at €17.99 that adds functions) from the Play Store.
Once downloaded and launched, choose how to manage cookies, then press the + button from the Home to start editing the first video, grant access to your device’s memory, choose videos from memory, and press the Allow button. Now, from the selection page, press all the videos you want to add and then the button with the arrow to the right.
From here, you will find the selected videos in the timeline, which you can easily scroll by touching the bar and moving it left and right. To modify the length of a clip, press the Cut button and then define the limits of the clip itself, confirming with the V button once you have made the changes.
Through the buttons you find just above the timeline, you will find options to add music, effects, filters, text, stickers, and much more. The options are truly vast, and I recommend scrolling through them all to see the options at your disposal. When you are finished, press the Save button to define various aspects related to the quality of the final file and press again on Save.
How to Edit a Video on iPhone
Want to know how to edit a video on iPhone? Then the solution I propose is the same I mentioned for Mac, namely iMovie. Once downloaded from the App Store, press the Continue button twice, grant the access it requires, and you will find yourself on the main page.
From here, for a classic film, press the Movie option to look for the clips in memory that you want to include, then touch them and press the V button to include them. At this point, backtrack to reach the timeline, where you will find the selected videos already placed in the order you assigned.
To manage them, tap the clip and then drag its colored edges to cut it where you prefer, or use one of the icons below to execute specific changes. With the speedometer icon manage the video speed, with the speaker adjust the audio, with the T you can add text, and much more.
When you are done, press the Done button to complete the changes and, to export it, press the Up Arrow button you find in the dashboard.