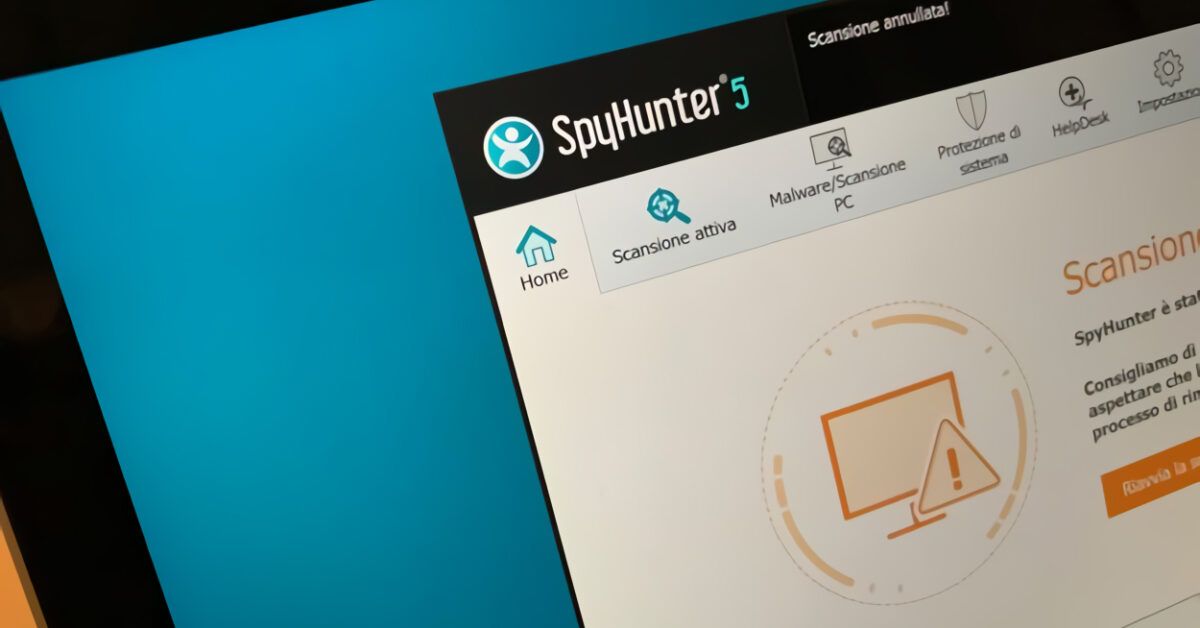
After leaving your computer in your brother’s hands for an entire afternoon, you noticed the appearance of SpyHunter in the list of installed programs? If the answer is “yes” and you could not get rid of the program, fortunately, you’re in the right place at the right time. In the following lines, I’ll illustrate what operations need to be carried out to eliminate SpyHunter from your computer once and for all. Don’t worry: it’s a very simple operation.
Before explaining what operations need to be performed to remove this program, it’s important to understand what we’re talking about. SpyHunter is an antispyware tool, a utility meant to remove malicious software from your PC. However, in the past, it has received many accusations regarding its operation: several users have complained about receiving false alarms from SpyHunter regarding the possible presence of malware on their computer. Such messages were, to say the least, persistent and also encouraged users to download the paid full version of the software.
This behavior has been considered by many, including some competing antimalware software, as the behavior of a potentially unwanted program (potentially unwanted program, or PUP), and therefore, many people have decided to get rid of SpyHunter: if you are among them and want to understand how to uninstall SpyHunter from your PC, continue reading: you’ll find all the information you need right here.
Table of Contents
How to Uninstall SpyHunter on Windows
As trivial as it may seem, the most effective method to get rid of SpyHunter is to uninstall it through the appropriate Windows panel: below, you’ll find the instructions for how to do it on Windows 11, Windows 10, and earlier versions of the Microsoft operating system.
Windows 11
To remove SpyHunter from your Windows 11 PC, first, click on the Start button located in the taskbar below (depicting the Windows flag) and, in the panel that appears, click on the Settings icon under Favorites (or type “settings” in the search bar and press the relevant result).
In the new panel that opens, click on Apps, then select Installed Apps and locate SpyHunter in the list presented. Once found, click on the three horizontal dots next to it, then click on Uninstall and then the Uninstall button.
Now, in the SpyHunter panel that opens, click Yes to confirm your desire to continue with the uninstallation, then press Proceed with Uninstallation and wait for the procedure to complete. Once done, click on Restart Now and wait for your PC to restart. Done!
Windows 10
To remove SpyHunter on a PC running Windows 10, the first step you need to take is to click on the Start button (the flag icon located in the bottom left corner of the screen) and select the gear icon from the menu that opens, to access the system settings panel.
In the panel that opens, go to Apps, find the entry related to SpyHunter, click on it, and press the Uninstall button twice.
After that, respond Yes to the prompt that appears on the screen and, to complete the software removal procedure, click OK first and then Proceed with Uninstallation. When prompted, finally press the Restart Now button to reboot the system and complete the uninstallation of SpyHunter.
Windows 8.x and Earlier
If you are using a version of Windows prior to 10 or, for whatever reason, want to uninstall SpyHunter from the old Control Panel of the Microsoft operating system? No problem.
To do this, click the Start button (the flag icon located in the bottom left corner of the screen), type “control panel” in the search field available in the menu that appears on the screen, and click on the first search result you get.
Next, select the Uninstall a Program entry located at the bottom left (if you cannot find it, you just need to search for the term “uninstall” in the search bar, at the top right), find the entry related to SpyHunter in the displayed window, select it, and click the Uninstall/Change button (at the top right) to initiate the software removal process.
Now, follow the on-screen guided procedure and you’re done. The steps to take are the same as I illustrated in the previous section of this tutorial dedicated to Windows 10.
In Case of Problems
If you cannot complete the SpyHunter removal procedure because maybe an error message appears on the screen or the program’s icon is not listed among the installed software on your PC, there are several ways to tackle this issue.
First, as mentioned for Windows 8 and earlier, you can use the Control Panel also in the later versions of Windows. If that doesn’t work, you can resort to using Windows Safe Mode, which is useful for troubleshooting such issues.
Finally, you can also utilize third-party tools and software, such as Revo Uninstaller or Geek Uninstaller, both free programs designed for the removal of unwanted programs from your PC.
How to Uninstall SpyHunter on macOS
If you’ve noticed the presence of SpyHunter on your Mac? No problem, the uninstallation procedure is very simple and quick as well.
First of all, since it is a software downloaded from a third-party website, you cannot proceed with the simple drag-and-drop method from the Launchpad to the Trash, as is done for products downloaded from the Mac App Store. In this case, you need to proceed from the Applications folder located in Finder.
Then, click on the Finder icon (the smiley face) located in the Dock bar, and in the panel that opens, click on Applications listed under Favorites. From there, locate the SpyHunter icon and drag it to the Trash in macOS. Done!
What do you say? The application refuses to delete itself? Then, in such cases, my advice is to use third-party software that is helpful for eliminating applications and their potential remnants, such as AppCleaner.
