So, without further ado, make yourself comfortable and read carefully everything I have to explain on the subject: I’m sure that at the end of this guide, you will have a clear understanding of how to move forward with confidence and professionalism. That said, I can only wish you happy reading and… good luck!
Table of Contents
Preliminary Analysis
The first step to creating a business website successfully is its “theoretical” planning.
First, ask yourself who you want to visit your website and what information you want readers to get from it: do you need a storefront to showcase your work? Do you need an e-commerce site? Do you offer direct services to customers?
In this regard, you need to clearly define two fundamental concepts: the mission that your site must have (the type of interest it should arouse in visitors) and the vision it should follow (the methods to generate that interest).
Once these two points are established, you can proceed with defining the main details of the site: name, domain, and hosting to host it. In the following paragraphs of this section, I will indicate the “choices” you need to make from the outset.
Choose Name and Domain
Today, a business website is somewhat like a business card for your activity. For this reason, I recommend giving the site a name that reflects that of the company, impactful and easy to remember. For example, I chose to use my own name for my company, and it’s no coincidence that my website is also named after me.
Once you’ve decided on the name, another crucial step follows: choosing the domain to use, which is the main part of the URL where it can be reached. Returning to my case, I opted for a domain that is easy to remember and that directly refers to me and my company: mywebsite.com.
Ideally, you should follow a similar path, keeping a couple of essential details in mind: the website’s domain should be easy to remember and relatively short, within limits. Another suggestion: if the company you are creating the site for operates internationally, also purchase alternative domains with .net (e.g., mywebsite.net) and .com (mywebsite.com) extensions.
If you already have web space and only need a domain, feel free to consult my guide on registering a new domain. Otherwise, continue to learn more about hosting.
Choose Hosting
The hosting is just the physical space where a website is hosted. There are many providers for this, many of which offer packages that include hosting, domain, and dedicated web services. Hosting providers can offer both free solutions with limited and non-customizable functions and paid solutions.
Some providers allow you to choose the type of server to rent: this choice varies significantly based on the performance you aim to achieve and needs to be analyzed carefully to avoid unnecessary expenses.
- Shared server — resources are hosted on machines shared by multiple customers. This is the most economical solution.
- Semi-dedicated server — resources are hosted on a complete operating system in a virtual environment, fully available to the user (who will be left to configure its various aspects). Suitable for those with high traffic or sites that perform very complex operations.
- Dedicated server — resources are hosted on a complete operating system installed on a physical machine, made entirely available to the user.
Unless you have specific technical requests, I recommend opting for shared server hosting: such platforms usually offer numerous services, including the following.
- A certain amount of web space for the files that make up the site.
- A second-level domain (or higher).
- The ability to create one or more subdomains (e.g.,
blog.mywebsite.comorecommerce.mywebsite.com). - A certain number of dedicated email boxes.
- Pre-configured server services ready to use.
- Pre-configured CMS for simplified installation or proprietary CMS (I’ll tell you more about this later).
- Optional backup services for automatic data saving.
- Optional staging service for creating “test” functions of the site.
Clearly, the choice of hosting can vary based on the type of website you want to get. If you need help in this regard, please read my tutorial on how to choose hosting for your website and my guide to the best hosting: I’m sure they will clarify things further.
Choose a CMS
You intend to create a business website by yourself but, unfortunately, you’ve never dealt with web programming before? Don’t worry: there are tools capable of creating, customizing, managing, and updating entire websites, easily suited even for those without specific expertise: these systems are called CMS, or content management systems.
There are a lot of CMS ready to use, and you need to identify the one that best fits your project, considering its main aspects, such as: graphic design, methods for creating content; e-commerce and/or showcase pages, code development, and monetization (i.e., the ability to earn from the site).
If, for example, the website should resemble a blog, an informational showcase, or a portfolio, it is essential to rely on a CMS that can easily create content and manage the site’s graphics (e.g., WordPress); if, however, you are more inclined towards the development of an e-commerce, you need a CMS that allows you to create product sheets, define payment and shipping methods, and if you plan to promote your page, also create a landing page (e.g., Joomla).
To clarify your ideas further, I’ve created a specific guide dedicated to the best CMS, where I talked in detail about the most well-known and used solutions of this type.
Fundamental Pages
One of the keys to a successful business website is to think about it literally from the audience’s perspective. Here’s a series of pages that I believe should be present in almost all business websites.
- Home page — it should be well-crafted, organized, engaging, and not excessive.
- About Us page — containing the company’s history, along with its mission and values.
- Contact page — indicating information such as the company’s address, hours, phone number, email address, and links to social profiles.
- Portfolio page — if you want to give readers a list of your works.
- Testimonials page — where you can gather positive experiences from those who have turned to your company.
- Success Stories page — similar to what was previously mentioned, it should list the most important projects completed by the company itself.
- Store page — if you want to give your readers the opportunity to shop online.
- Landing Page — to be created if you intend to advertise your company via social media or Google Ads.
- Privacy & Cookie Policy management page — mandatory by law. In this regard, you could consider a service like iubenda, whose team of lawyers helps ensure compliance for websites and apps.
How to Create a Business Website for Free
After drafting a project regarding the type of website you intend to create, it’s time to explain how to proceed with the practical work. Personally, I recommend considering paid solutions, as the services offered (e.g., a second-level domain) are more suitable for the results you should achieve. Free solutions generally include only third-level domains unsuitable for a business.
Wix
If you’re looking for a way to create a professional website with advanced functionalities such as blogs, image galleries, and an e-commerce section, Wix is a choice you should consider. This online platform allows for the creation of websites through a guided and intuitive process that uses AI to help create sites in minutes by answering some questions from a chatbot.
It also features a wide range of pre-designed templates optimized for mobile viewing, allowing you to achieve professionally-looking sites without “going crazy” over code.
In its free version, Wix allows you to build a site with an address like username.wixsite.com/siteName with 500 MB of storage space and 1 GB of bandwidth. For additional features like Google Analytics, a custom domain, and ad removal, you can choose from one of Wix‘s competitively priced paid plans.
To start creating a free website with Wix, connect to the main page of the service, enter your email, use the dedicated button to start the process, and register your account using a password or through your Facebook or Google account.
You will then need to indicate the purpose of your website and decide whether to use Wix’s AI chatbot for a guided setup or continue manually, without AI. If you opt for AI, you’ll be asked to provide the name of the site, the topic, the services you want to offer, and more, with the option to skip or repeat questions at your discretion.
Regardless of the creation method chosen, you will then access the dashboard, where you’ll find a sidebar menu to access all Wix sections for managing blogs, apps, payments, marketing, analytics, etc., and a series of recommended steps for optimizing your site’s setup, including linking a domain, writings posts, setting a design, and optimizing visibility on Google.
For content customization, the Wix editor allows you to manipulate elements on the page simply by clicking on them: this makes it possible to reposition, resize or modify them. By using the Add button in the sidebar menu, you can also add media, apps, buttons, and more.
Once your customization is complete, simply press the Publish button in the upper right corner to make your site accessible online.
As you can see, the process is extremely intuitive. For further details on how to set up your site with Wix, check out the guide that’s linked above.
Aruba WordPress Hosting
One of the best and most popular ways in Italy to create a business website is certainly to use Aruba’s WordPress hosting. A complete solution through which one can create any type of site using the world’s most popular CMS (Content Management System): WordPress. With Aruba’s WordPress hosting plans, you can create showcase sites, blogs, e-commerce, and much more without writing a line of code, using themes and plugins. Below are the three main plans.
- WordPress Hosting — the basic plan provides a second-level domain and shared hosting with unlimited space and traffic. Includes pre-installed WordPress, an SSL certificate, 5 email accounts of 1 GB with antivirus and anti-spam, backup and monitoring of data, and a caching system to improve website performance. The cost is €44.99 + VAT per year, discounted to €14.90 + VAT for the first year.
- Managed WordPress Hosting — in addition to all the benefits of the first plan, this also provides AI support for site creation, automatic updates and backups, unlimited email accounts, and advanced support. It is divided into three sub-plans to choose based on the website’s traffic. Prices start at €79 + VAT per year (€14.90 + VAT for the first year).
- Managed WooCommerce Hosting — choosing this plan gives you all the benefits of the first two plus the WooCommerce platform with AI for creating an e-commerce. It costs €249 + VAT per year (€79.90 discounted for the first year).
To activate one of the listed plans, visit their pages and click Buy, then select Register a new domain if you don’t have a domain for your website yet (otherwise select Transfer a domain).
Now type your domain name and click Continue, then choose the extension from those available, check the annual cost, and click Continue.
Now decide if you want to add other services to your package and click Continue, and again Continue if another prompt appears, then No, thanks.
At this point, press Create Aruba Account and register a new account by entering credentials, or click Log in if you already have one. Enter the billing information and the domain registration details that the platform will ask for and click Continue. On the payment page that opens, choose a payment method and enter the relevant details, then tick to accept the contract conditions and clauses. Finally, click Pay for your order to proceed with payment.
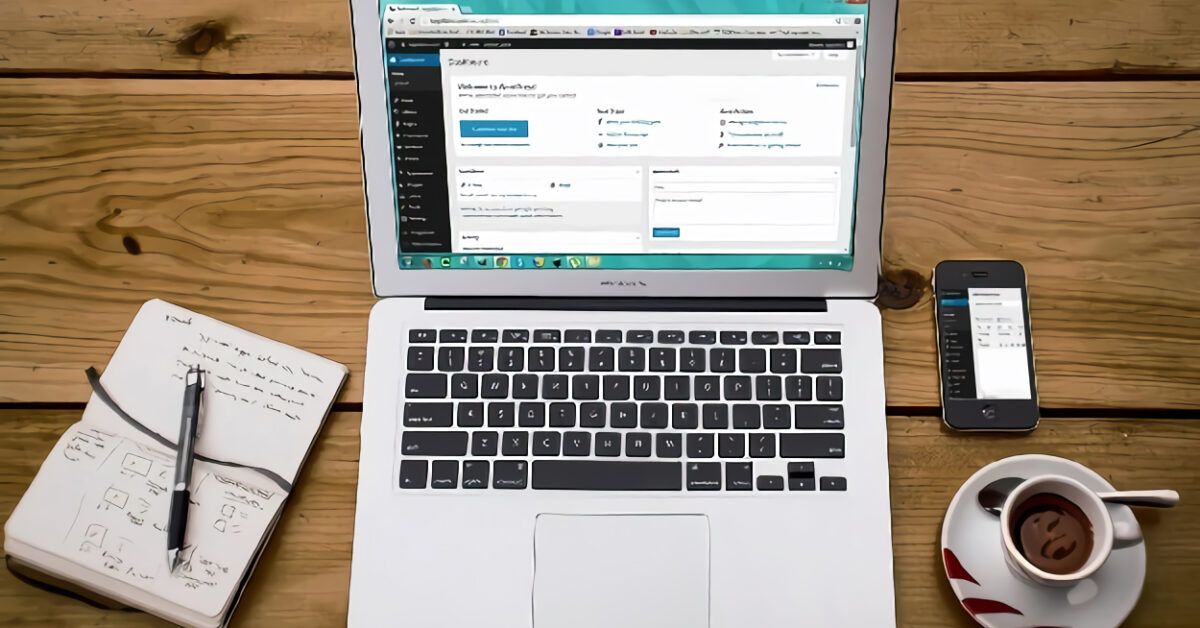
Now you have your hosting, and you will also receive a summary email with the access information. You can manage your hosting from this link: just log in with your Aruba account and then click on Control Panel. To manage your WordPress site, however, you need to access the link https://www.yourdomain.com/wp-admin. This link leads to the WordPress dashboard where you can build and customize your website.
Once in the WordPress dashboard, to start building your site, hover over Appearance on the left sidebar and click on Themes. Choose a theme for your website or download one and install it by clicking on Add New, then click Activate to enable the selected theme. On the top bar of WordPress, click Customize to start customizing your site’s design.
An interesting alternative to WordPress hosting may be Aruba SuperSite: a solution for creating a business website without programming knowledge using an intuitive editor supported by AI. For more information on Aruba, check out the guide on how to create a site with WordPress on Aruba.
Shopify
If your intention is to create a complete business website with a blog and e-commerce to sell your products, I recommend considering Shopify: a service with over 1,000,000 stores active worldwide that allows you to create professional e-commerce sites in just a few clicks. It’s accessible directly from a browser or app and is easy to use thanks to ready-to-use themes.
Shopify provides unlimited hosting and bandwidth, a free SSL certificate, a free shopify.com domain (with the option to purchase a custom one or use an existing one), and allows you to manage everything with extreme ease.
You can use it for free as a trial (without entering payment details or renewal obligations), after which you can choose one of the paid plans, starting at €21/month. To get started, just go to the official Shopify site and click on the Start your free trial button.
To create your account, click on Sign up with email or Sign up with Google, Apple, or Facebook. Enter your store name and password, press the Create your store button, and choose where you would like to sell, specify if you’ve already started selling and what products you would like to sell. To conclude and begin your free trial, click Start and then Skip.
In the guided process that opens, enter the information that corresponds to your business, then use the sidebar menu to build your e-commerce. In this menu, you can find key sections like Orders, Products, Analytics, Marketing, Customers, and Discounts for complete management, while to modify the page layouts, you can use the Online Store section. You can find all the information to set up the site best in my guide on how to create an e-commerce with Shopify.
Other Solutions for Creating a Business Website
If you think the solution I provided earlier doesn’t suit your case, consider using other platforms that allow you to create a business website in just a few clicks. Below are some options for you.
- Jimdo — also available for free with a third-level domain, this is another great platform to quickly create a business website. It offers the possibility to obtain a domain for your company, utilize professional designs in the business field, and modify your website in seconds from computers or mobile devices. Creating a professional business site can also be automated. Business plans start at €18 per month with SEO, visitor statistics, and personalized support included.
- Prestashop — a CMS designed for those who want to open an e-commerce. It’s simple and intuitive to use, as well as rich in features. It can be installed for free on WordPress hosting, but you can also purchase a plan that offers ready-to-use Prestashop hosting with 50 GB of space starting at €24 + VAT per month. Or a tailored Enterprise plan with a personalized quote.
- One Minute Site — with this service, you can open a professional or customizable online store site using a simple editor that works by dragging elements. The subscription plan, which costs €19.50 per month, also includes training, consulting, and support.
For further information about these and other useful services for this purpose, feel free to refer to my guides on how to create a website, how to create a professional site, and how to create an e-commerce site: I’m sure you will find what you’re looking for!